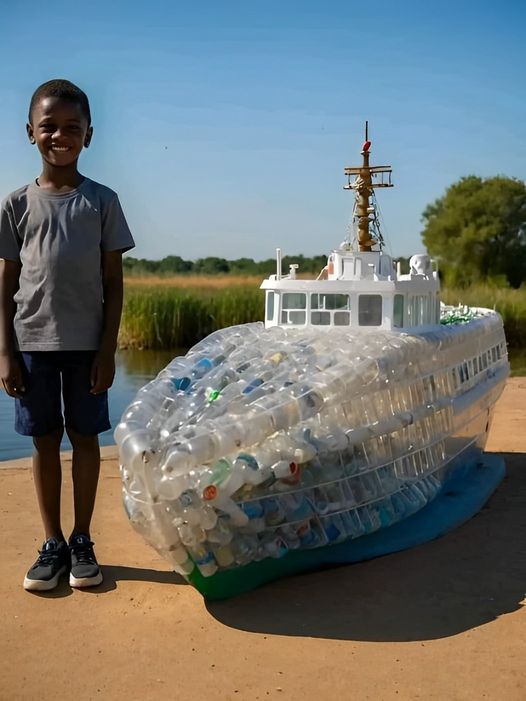
Sometimes, the best ideas come from random videos on the internet. A few years ago, I stumbled upon a mesmerizing clip of a man building a boat out of recycled plastic bottles, and that sparked my curiosity. Unable to find any solid instructions online, I decided to wing it. Trust me, it makes for a fantastic project – it’s quirky, delightful, a bit messy, yet completely safe.
Why not turn all those annoying plastic bottles into something fun and floaty (and environmentally friendly too)? Plus, it’s bound to turn heads on any body of water. Recycling can be entertaining!
The Blueprint for Your Plastic Bottle Boat
Picture a majestic kayak, but crafted from things you’d find in your recycling bin. My creation ended up around 3 x 7.5 feet, weighing approximately 50 lbs. The best part? Those tightly screwed-on bottle caps keep it buoyant, even if you’re splashing around. Ideal for serene waters (avoid rapids, unless you want an impromptu swim).
Step 1: Materials – Keep It Simple
Surprise! You only need three things:
Step 2: Assembling the Deck
The deck of your boat will be reminiscent of a basic flat-bottomed boat. Think raft but with a bit more pizazz. Start by gluing bottles side by side in organized sections. Ensure you work in a well-ventilated area. The glue I used was relatively odorless, but better safe than sorry. A line of adhesive about 3/16” – 1/4” wide works wonders. You’ll need 12 horizontal sections for the deck, sized as follows:
Step 3: Crafting the Hull
Once those sections are nicely glued, give them time to cure. While you wait, start working on the hull. The second layer will be similar but slightly smaller. You’ll need 11 horizontal sections for this part:
Step 4: Piece It Together
Once cured, start gluing these sections end to end. A big glob of adhesive at the bottom of each bottle should do the trick. You’ll want to position the smallest sections at the ends and the largest in the middle, roughly forming an ellipse. Keep the bottle caps pointing towards the boat ends until the 6th section. From there, reverse the bottle caps’ direction for balance.
Step 5: Adding Layers
With the first layer sorted, start on the second layer. Glue the bottles into the shallow “V” between each base layer bottle. Each second layer section should touch two base layer sections, adding stability and forming a rough hull shape. Press everything together with weights, books, or even persuasive relatives, and let it cure.
Step 6: Crafting the ‘Comfy’ Seat
In quotes because it’s not comfy at all without some cushioning. Create a 2 x 11 bottle section and glue this onto the larger bottle layer. Depending on your preference, position this in the center or slightly behind it. Be prepared: a foam cushion or folded towel will be a lifesaver here.
Step 7: Building the Gunwales
Cold hard fact – you need edges. Glue two rows of bottles side by side around the boat’s border, curving them gently at the bow and stern. Add another row on top for extra height and splash protection. Stylish and functional!
Step 8: Ready for the Water
Voilà! Your floating masterpiece is ready. A kayak paddle is your best bet for maneuvering, though I’ve wrangled with a canoe paddle too. Withstanding up to 180 pounds (yours truly’s weight), it sits just above water level. If you’re heavier, consider adding a third bottle layer for added buoyancy. Remember, this is more bath toy than Titanic – expect a splash or two.
Hopefully, this guide inspires you to build your own bottle boat. Feel free to ask any questions and unleash your creativity. Viking longboats, anyone? Enjoy and happy boating!
Repairing and Recycling
If a bottle breaks, swapping it out is a breeze. Carefully cut it out, peel off the old glue (possibly with some sanding), and pop in a new one with fresh adhesive.
Thinking about recycling? Be a hero! Disassemble your boat for your local plant. Removing the glue is crucial – peel or sand it off before recycling the bottles.